Making Applesauce!
Ingredients
Takes , serves .

Have you ever thought to yourself on one of those intoxicating autumn days, “I should buy 4 bushels of apples during a crazy season of my life and try to do something with them all before they rot!”?? Yeah, neither have I, yet a couple of weeks ago there I was with 4 bushels of apples that were quickly getting too soft to use. Y’all, I love autumn, and I love the thought of merrily putting apples by with my daughters as I gaze out the window across the golden field of waving grain. Everything is perfect as we peel those sweet apples. There’s nothing to do but peel and can and dry…
And then there’s real life. A house in the middle of construction. Friends who need help. Thanksgiving for 17. Customers who want tea. Bills to pay. Food to cook. House to clean. Blog to write. Homeschool. Family visiting. Firewood. Mental clutter. Those darn apples.

One day I just made myself get a box of Ida Reds out of the girls’ mid-construction bathroom and started peeling. Carolina helped get them prepped. We had to hand peel a few of the apples, because they were too soft for our peeling contraption.


I used a handy, dandy apple, peeler, corer, slicer (say that five times fast) to make the process quick. We left the peel on some of the apples and the rest of the peels were used to make Homemade Apple Cider Vinegar.

Look at these beautiful, pink apples!

Pureeing with a hand blender.
Ready to put into jars.
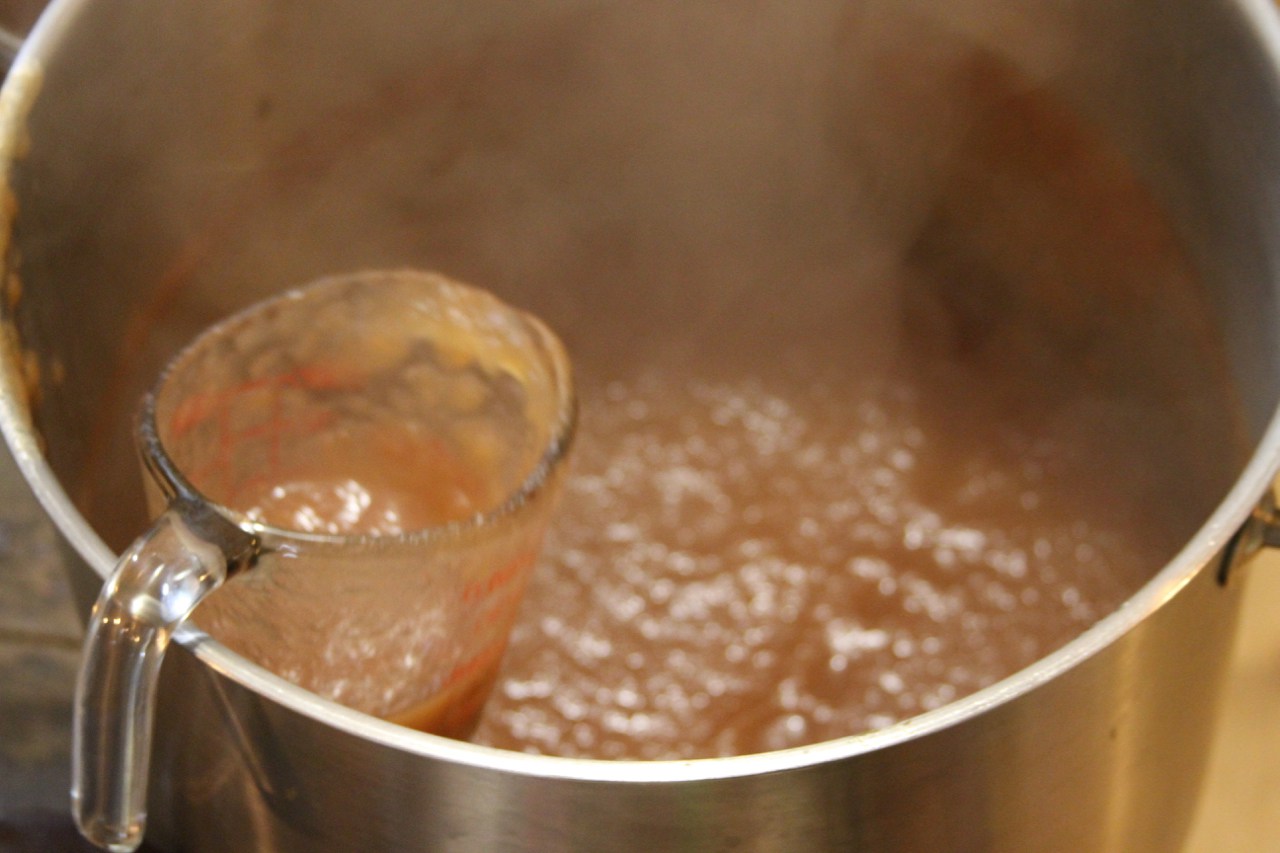
Ida Reds are a great choice for applesauce. They’re pink and tart and delicious. We sliced about 40 pounds (that’s an approximate bushel, folks) of Ida Reds and into the pot they went. I added enough water so the apples wouldn’t burn to the bottom of the pot, a bit of cinnamon, salt and unrefined sugar and cooked it until the apples were soft and easy to blend. Sometimes I don’t use any sugar. These apples needed a hit of sweet, though. I’ve also used pure maple syrup.


See the picture with the jars and lids in the pan of water? I don’t know what the technical way is to sterilize jars, but this is the way my mama does it, so there go I! Let the jars boil for a few minutes until you can’t touch the jars without burning your finger. Be careful! Don’t burn your finger, just see if it’s too hot to hold your finger on the jar!


Time to fill the jars with hot applesauce. I found a little trick to keep the filled jars hot while you get your water bath boiling and/or if you have multiple batches to process. Set your oven to 220 degrees or so, and put your jars in the oven to keep them hot. When you’re ready to water bath them, simply take them from the oven and put them into the water bath.
Processing Applesauce in a Water Bath
Why do I make applesauce? It’s way cheaper than store bought and tastes much better. I can’t say that I EVER get applesauce out and eat it myself for a snack, but my kids do. They love it. Here’s the way I eat it: warmed with a pat of butter, a slice of bacon and a scone or toast for breakfast!

Takes , serves .

A members-only community for those who long to have joy no matter what, a lovely, blissful home, and to eat healthy without stress. Let us link arms with you!

50% Complete